WINTER SOWING TUTORIAL

2024 UPDATE: New Winter Sowing Guide Now Available
I’ve created a PDF Guide to Winter Sowing, which has even more information than the following tutorial. To get this free guide, you need to subscribe to my newsletter and then send me an email requesting it.
—Debbie Rea, The Gardener Wife
WHO could winter sow? Anyone!
Yes, even if you’re a beginner gardener, you can start planting some seeds now. Even if it’s freezing cold where you live, you can plant seeds for your garden now. Even if you don’t have grow lights—which, trust me, are a must for most indoor seed starting—you could start seeds now. Winter sowing is easy and possible for anyone. Winter sowing refers to starting seeds outdoors during the winter in DIY mini greenhouses made from plastic containers. The seeds sprout when the weather warms up just like seeds that have fallen to the ground naturally.
WHY winter sow? To get more plants, of course!
Growing plants from seeds is cheaper than buying plants, and starting seeds with the winter sowing method is cheaper than starting them indoors. Plus, it’s a great way to reuse plastic containers instead of sending them straight to the recycling bin. Here are more advantages to this method of seed starting as described by Wikipedia.

The last one is my favorite! I’m glad I got a screenshot of that page before it was corrected. Like Abraham Lincoln said, don’t believe everything you read on the internet. In any case, it’s thanks to the internet that winter sowing has taken the gardening world by storm. Trudi Greissle Davidoff first coined the term and documented her experiments on www.wintersown.org. Today you can find instructions, photos, and discussions of winter sowing not only on that website but all over the internet.
WHAT to winter sow?
I recommend that you start with the best candidates for winter sowing: seeds of cold hardy or semi-hardy annuals and of perennials that are suited to your growing zone. Trudi has several lists on her website. You can also look for seed packet and catalog descriptions that say things like this: hardy, self-sowing, colonizing, withstand frost, stratify, stratification, or direct sow in early spring/late fall or as soon as the ground can be worked. Using such descriptions and different plant lists, I made my own personalized list of plants that I’d like to winter sow here in zone 5b.
Perennial: a plant that can live outdoors for more than one growing season
Annual: a plant that can live outdoors for one growing season in your zone
Hardy Annuals can tolerate cold soil and cool weather, down to the low 30s. These plants can survive some frost and snow.
Semi- or Half-Hardy Annuals can tolerate cool soil and cool weather, down to 40˚F. These plants might survive a light frost.
Tender Annuals require warm soil and warm weather. These plants do not do well in temperatures below 50˚F.
You could also grow tender annuals with this method. However, if you have a short growing season like I do, it may not be worth it. Winter sown tender annuals, such as tomatoes, will be smaller than indoor-started seedlings at transplanting time, so harvesting won’t begin until later in the season. That means fewer tomatoes! If I have extra seeds for tomatoes or other tender plants, I might winter sow some, but not all of them. One year I winter sowed celery seeds and also started some indoors under grow lights on the same date. The winter sown celery seedlings were smaller, yet I planted them anyway wherever I could find some room. They never grew to be as big as their brothers, but they were edible.
WHEN to winter sow?
Winter sowing, as the name suggests, is done in the winter—that’s whenever winter is in your part of the world. It doesn’t matter if your winter is freezing cold and snowy or just cool and rainy. And you can do it at any time during the winter. Here in zone 5, some folks start at the winter solstice; others prefer to wait until after the holidays and start in January. I tend to do my winter sowing in February. Once March rolls around, I get more involved in indoor seed starting. I also go outside and start direct sowing cold hardy annuals in my kitchen garden beds. I see no need to buy potting mix and cut up jugs to use this process for seeds that are easily direct sown, straight into the garden soil.
The beauty of winter sowing is that you don’t have to worry about exactly when to sow your seeds. Unlike indoor seed starting, there’s no counting back 6 to 10 weeks from your average last frost date. Let the seeds figure that out! You plant them anytime in the winter, and when the weather is right for them to come up, they will.
Start perennials and cold hardy annuals first; then start the semi-hardy plants; and lastly, start the tender annuals.
If you’re winter sowing tender annuals in a cold zone, however, you might want to put off starting them until March or even April for the tenderest ones. If you sow them sooner and an early warm spell causes them to pop up early, you’ll have to protect those seedlings through any freezes until it’s time to transplant them into the garden. The more tender the plant, the later it should be sown. In general, you should start perennials and cold hardy annuals first; then start the half- or semi-hardy plants; and lastly, start the tender annuals.
Here’s a list of vegetables and herbs, grouped by their hardiness levels. I put this handy chart together for a book that I’m writing, and the book will include a similar chart for flowers.

HOW to winter sow?
Prepare the Containers
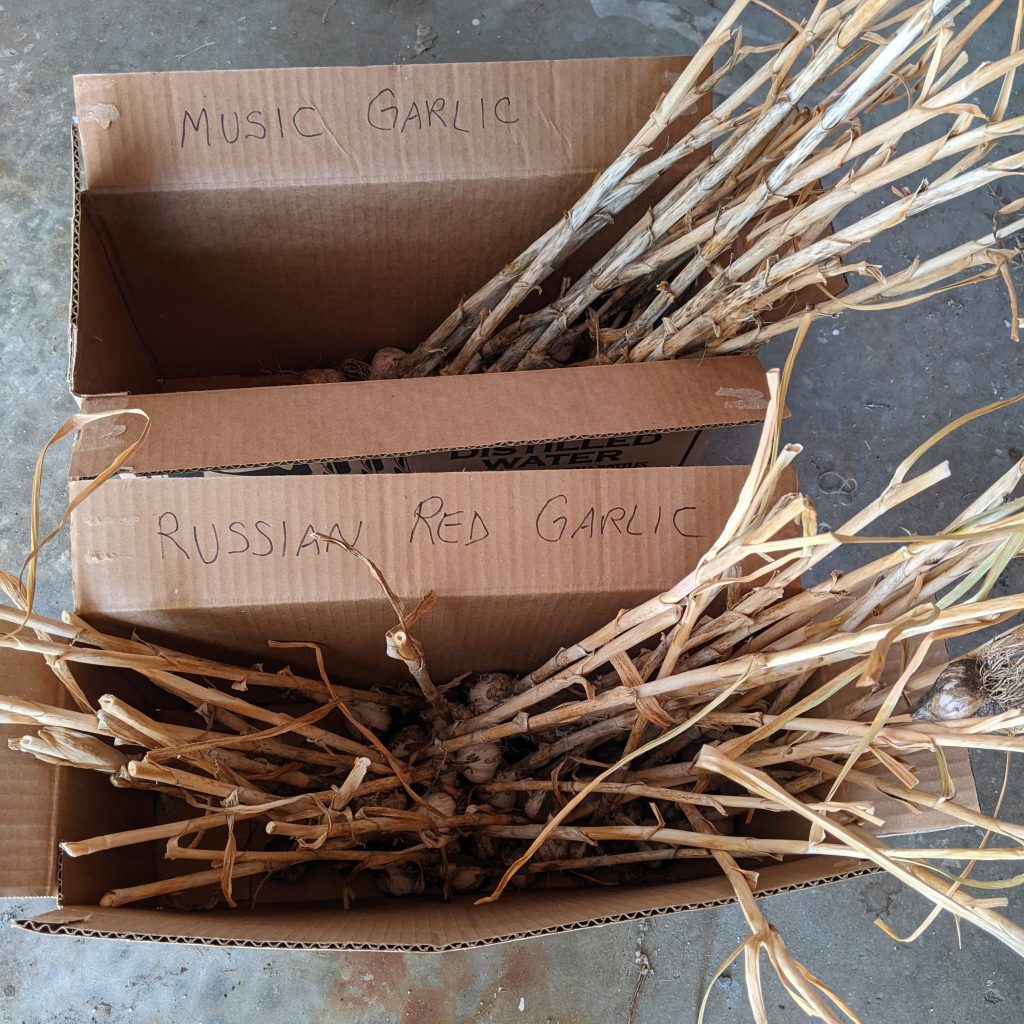
If you look around the internet or join any winter sowing groups, you’ll see that when it comes to making winter sowing containers, it is to each his own. This is how I do it. You can use any container that is tall enough to accommodate your seedlings as they grow and transparent enough to see your hand through its side. The most popular kind is gallon-size plastic jugs. We drink a lot of distilled water, so I use those. They’re great because they’re already sterile so I don’t have to wash them.
- Wash and sterilize the containers, if needed, and then let them dry.
- Make drainage holes in the bottom. I create slits with a small knife, and I give it a little twist to make the holes wider—4 holes in each jug. Vent holes are also needed at the top of winter sowing containers, so for these jugs with narrow openings, I just remove and discard the caps.
- Use scissors to cut almost all the way around the jug about 4 inches up from the bottom and leave a hinge on the handle side.
- Use a hole puncher to punch a hole in the top and another in the bottom at the corner opposite the hinge. This way I can put a twist tie through those holes to fasten my container shut. Most people seal their jugs with duct tape after they’ve planted them. My method is easier than dealing with sticky tape, especially if you have to open and close the jugs later.


Label the Containers
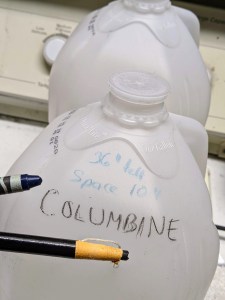
I write the name of the seed variety to be sown on both the bottom and top part of the jug because the top parts will get cut off later. Plant only one type of seed per container to avoid confusion. Use smaller containers, such as 2-liter bottles, if you’re planting only a few seeds.
Remember that these containers will be outside for several months, exposed to direct sunlight and all the elements. You do not want your labels to fade, so a Sharpie will not be good enough. I use a grease pencil, but my friend Dolly Foster, who has done much more winter sowing than I have, strongly recommends the Garden Marker, which is waterproof and UV proof.
Fill the Containers

I use a professional quality soil-less potting mix. It must hold moisture and drain well. Pro-Mix no longer makes my favorite kind, which had no fertilizers added. Since I now have to get a mix with fertilizer, I prefer an organic mix, especially when I’m planting anything edible. You may use a non-organic potting mix for winter sowing, if you want, but be sure to avoid any mix with water-storing crystals.
Mix water into the potting mix until it is damp but not soaked (clumpy but not muddy). I fill the containers at least 3 inches, which is deeper than necessary for indoor seed starting. You don’t need a ruler: the rule of thumb is to fill it to a depth that is about the same as the length of your thumb. Tamp it down a bit and add more potting mix until the depth reaches 3 to 3-1/2 inches.
Plant the Containers
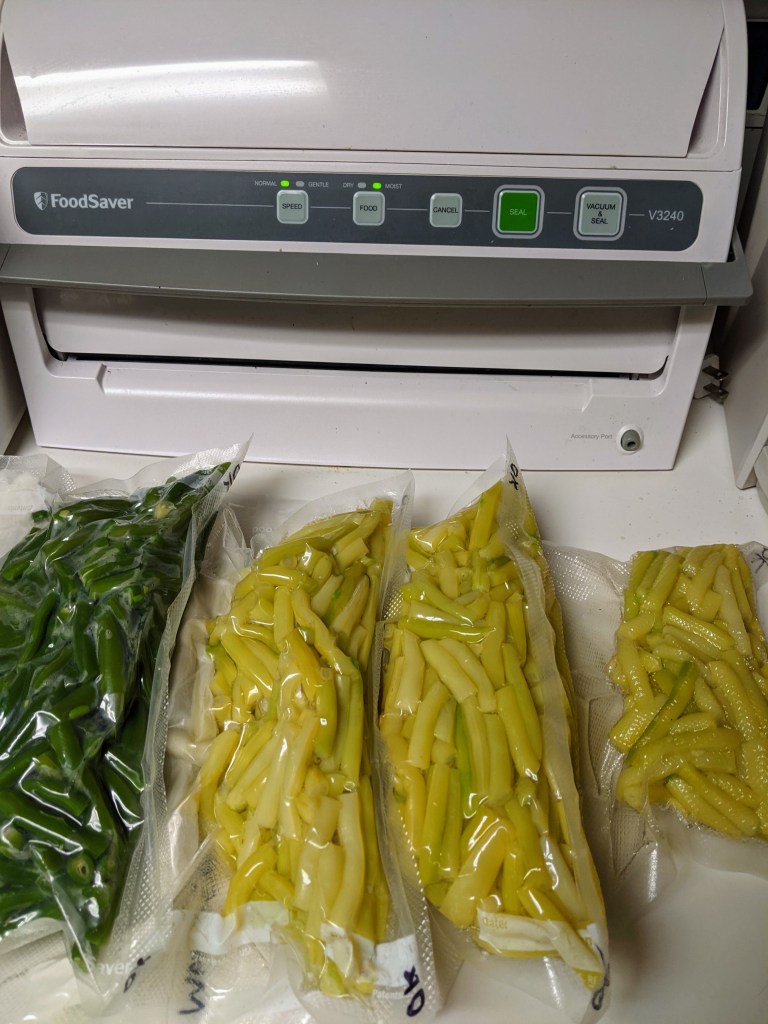
The fresher your seeds, the better. When I first discovered winter sowing, I thought it would be a great way to use up my oldest seeds. Wrong! Hardly anything came up, and it was a waste of time and effort. One to three years old is OK for most seeds. I have experimented and found that I can extend the viability of seeds that don’t have a good germination rate after the first year, such as parsley, by vacuum sealing them. In any case, remember that the older the seeds, the more you should plant because fewer of them will sprout.
Small seeds can be sprinkled on top of the soil and patted down into the soil mix. You do not have to worry about spacing them if you plan to use Trudi’s Hunk-o-Seedlings technique for transplanting them later. Larger seeds should be placed farther apart and then covered with a layer of potting mix equal to their proper planting depth, which is usually equal to the diameter of the seed.
The next step is to water the containers, and I do that one of two ways. One method is to put the containers in my kitchen sink and use the sprayer to give them a gentle and thorough watering. The other method is the same one I use with indoor seed starting, bottom watering. I put the containers in trays that are at least as deep as the soil mix is. Then I add water to the trays and let the containers sit in it until their potting mix is soaked; then drain them.

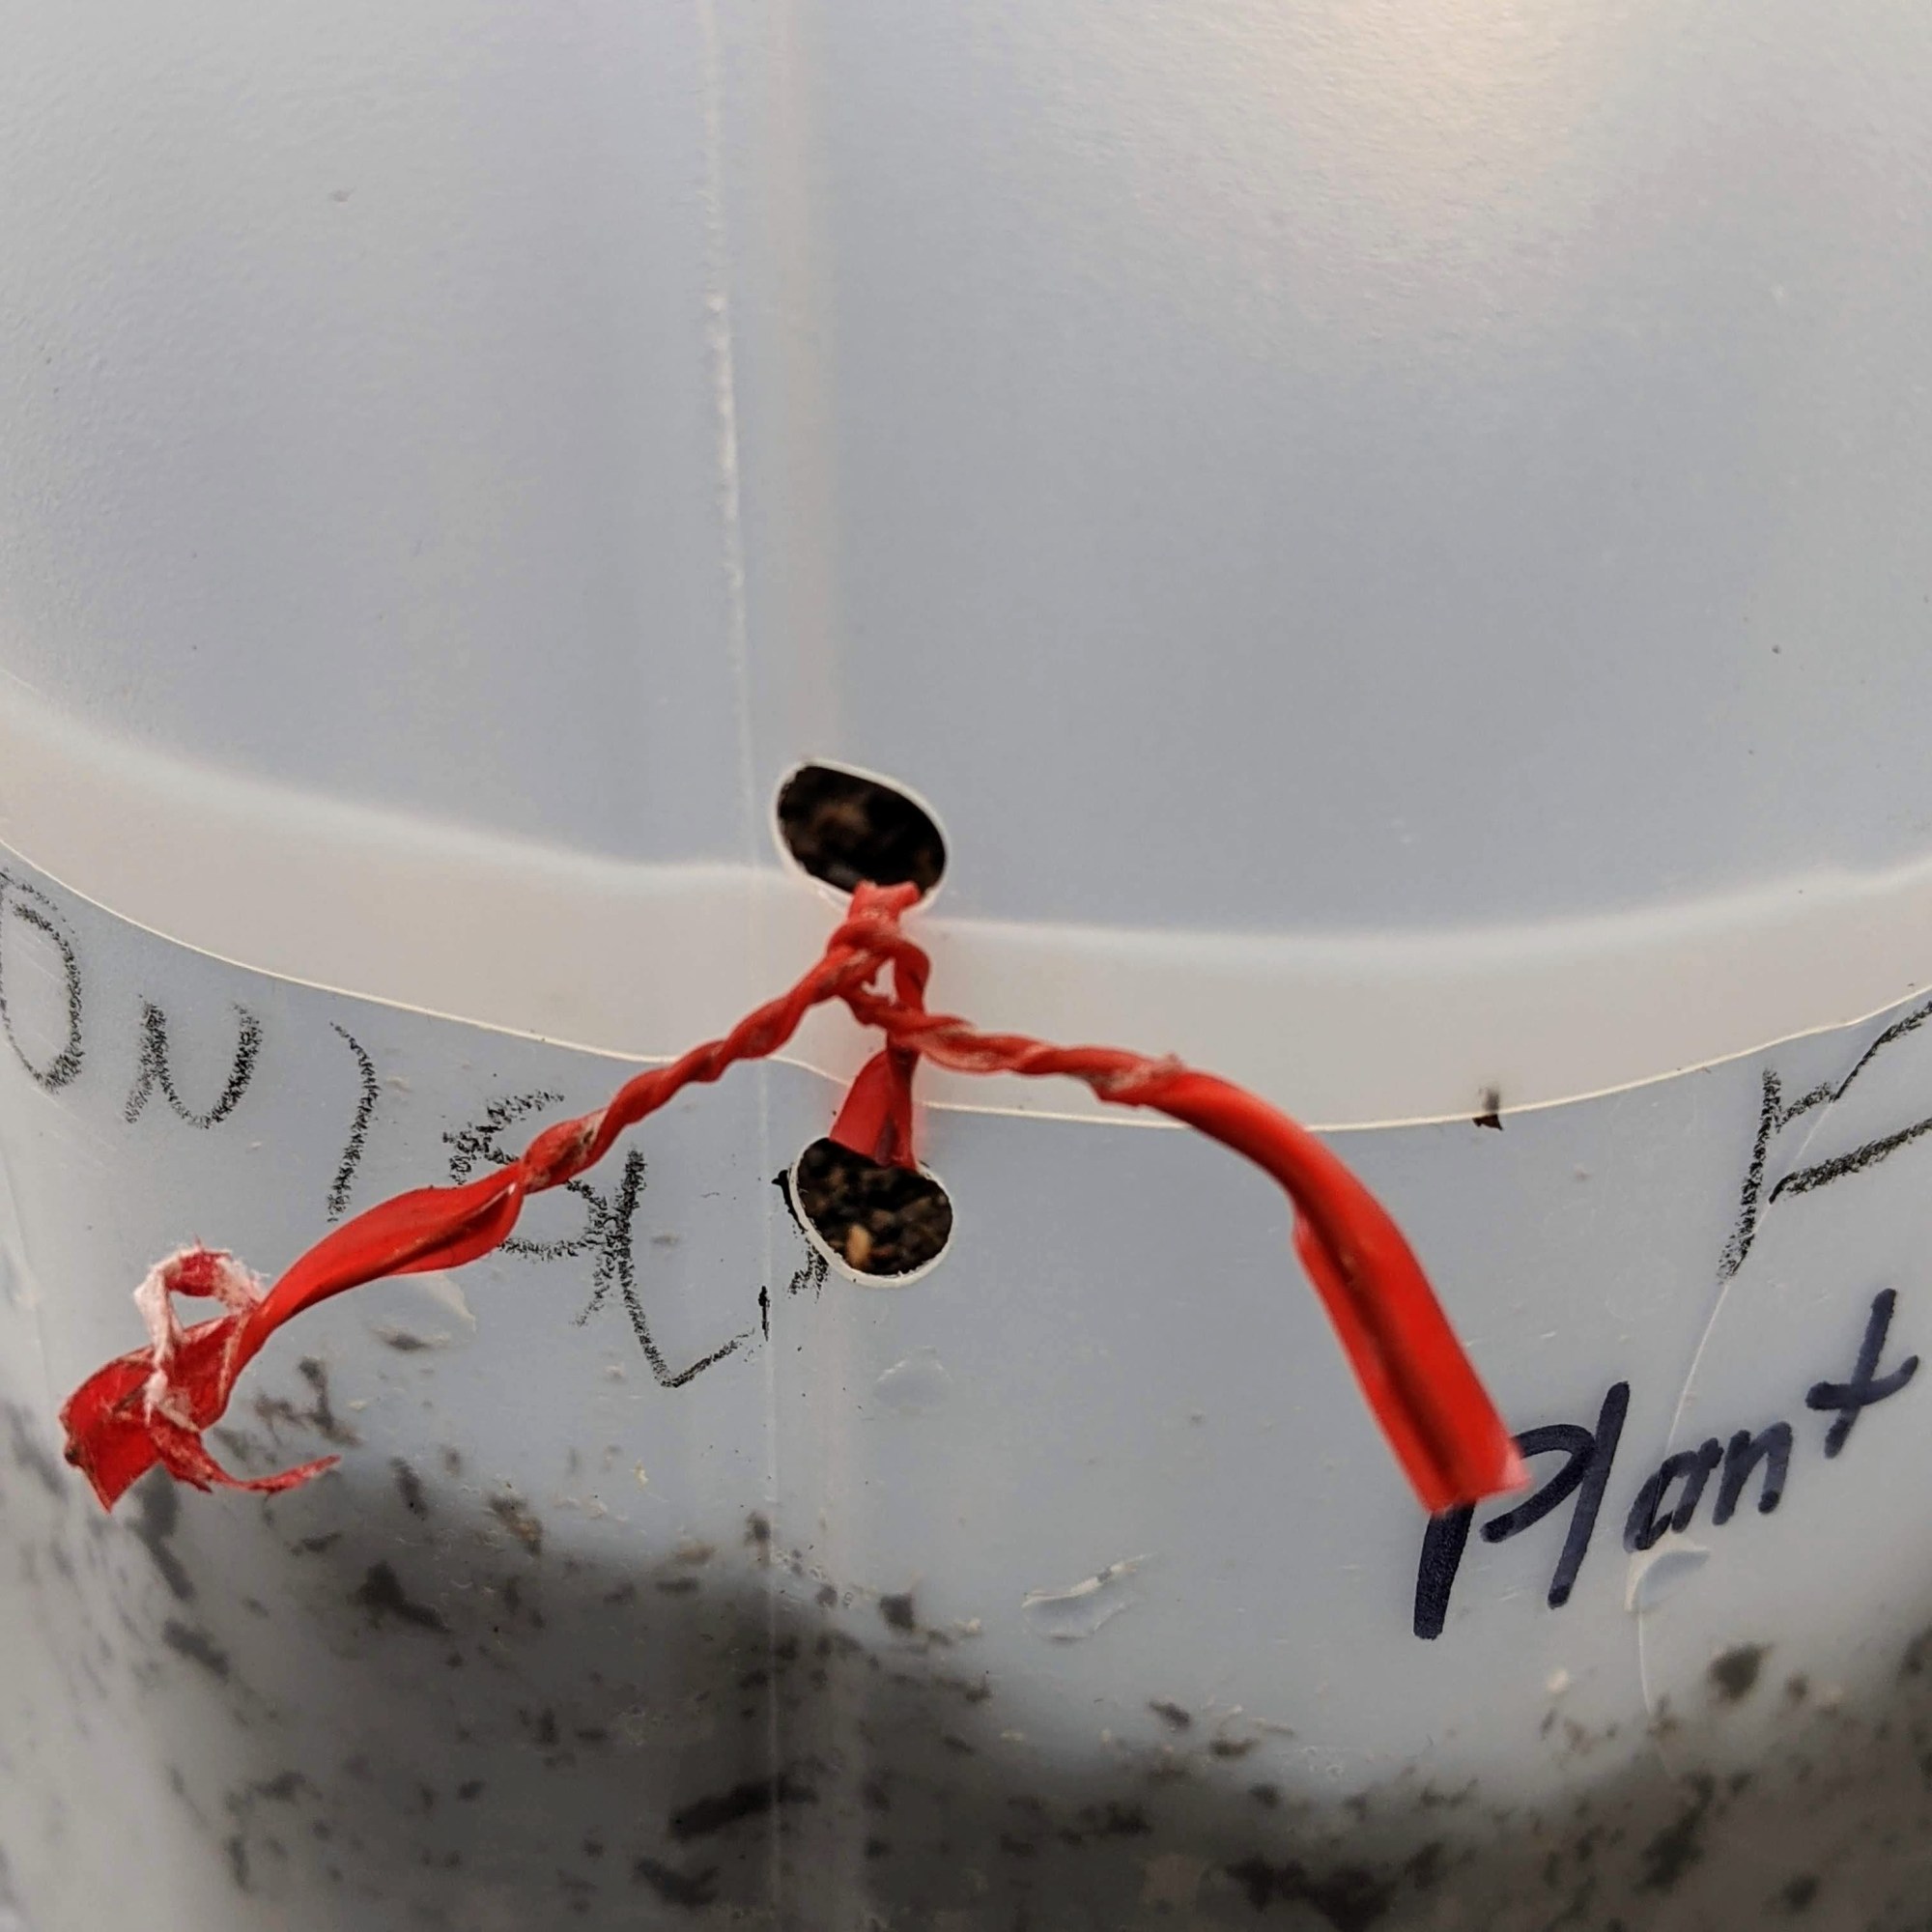
The last thing to do is to cover and tie them. I slip a twist tie through the holes that I punched into the corner opposite the handle of the jug. Fit the top down snugly over the bottom of the jug on all sides, and twist the tie shut.
WHERE to Winter Sow
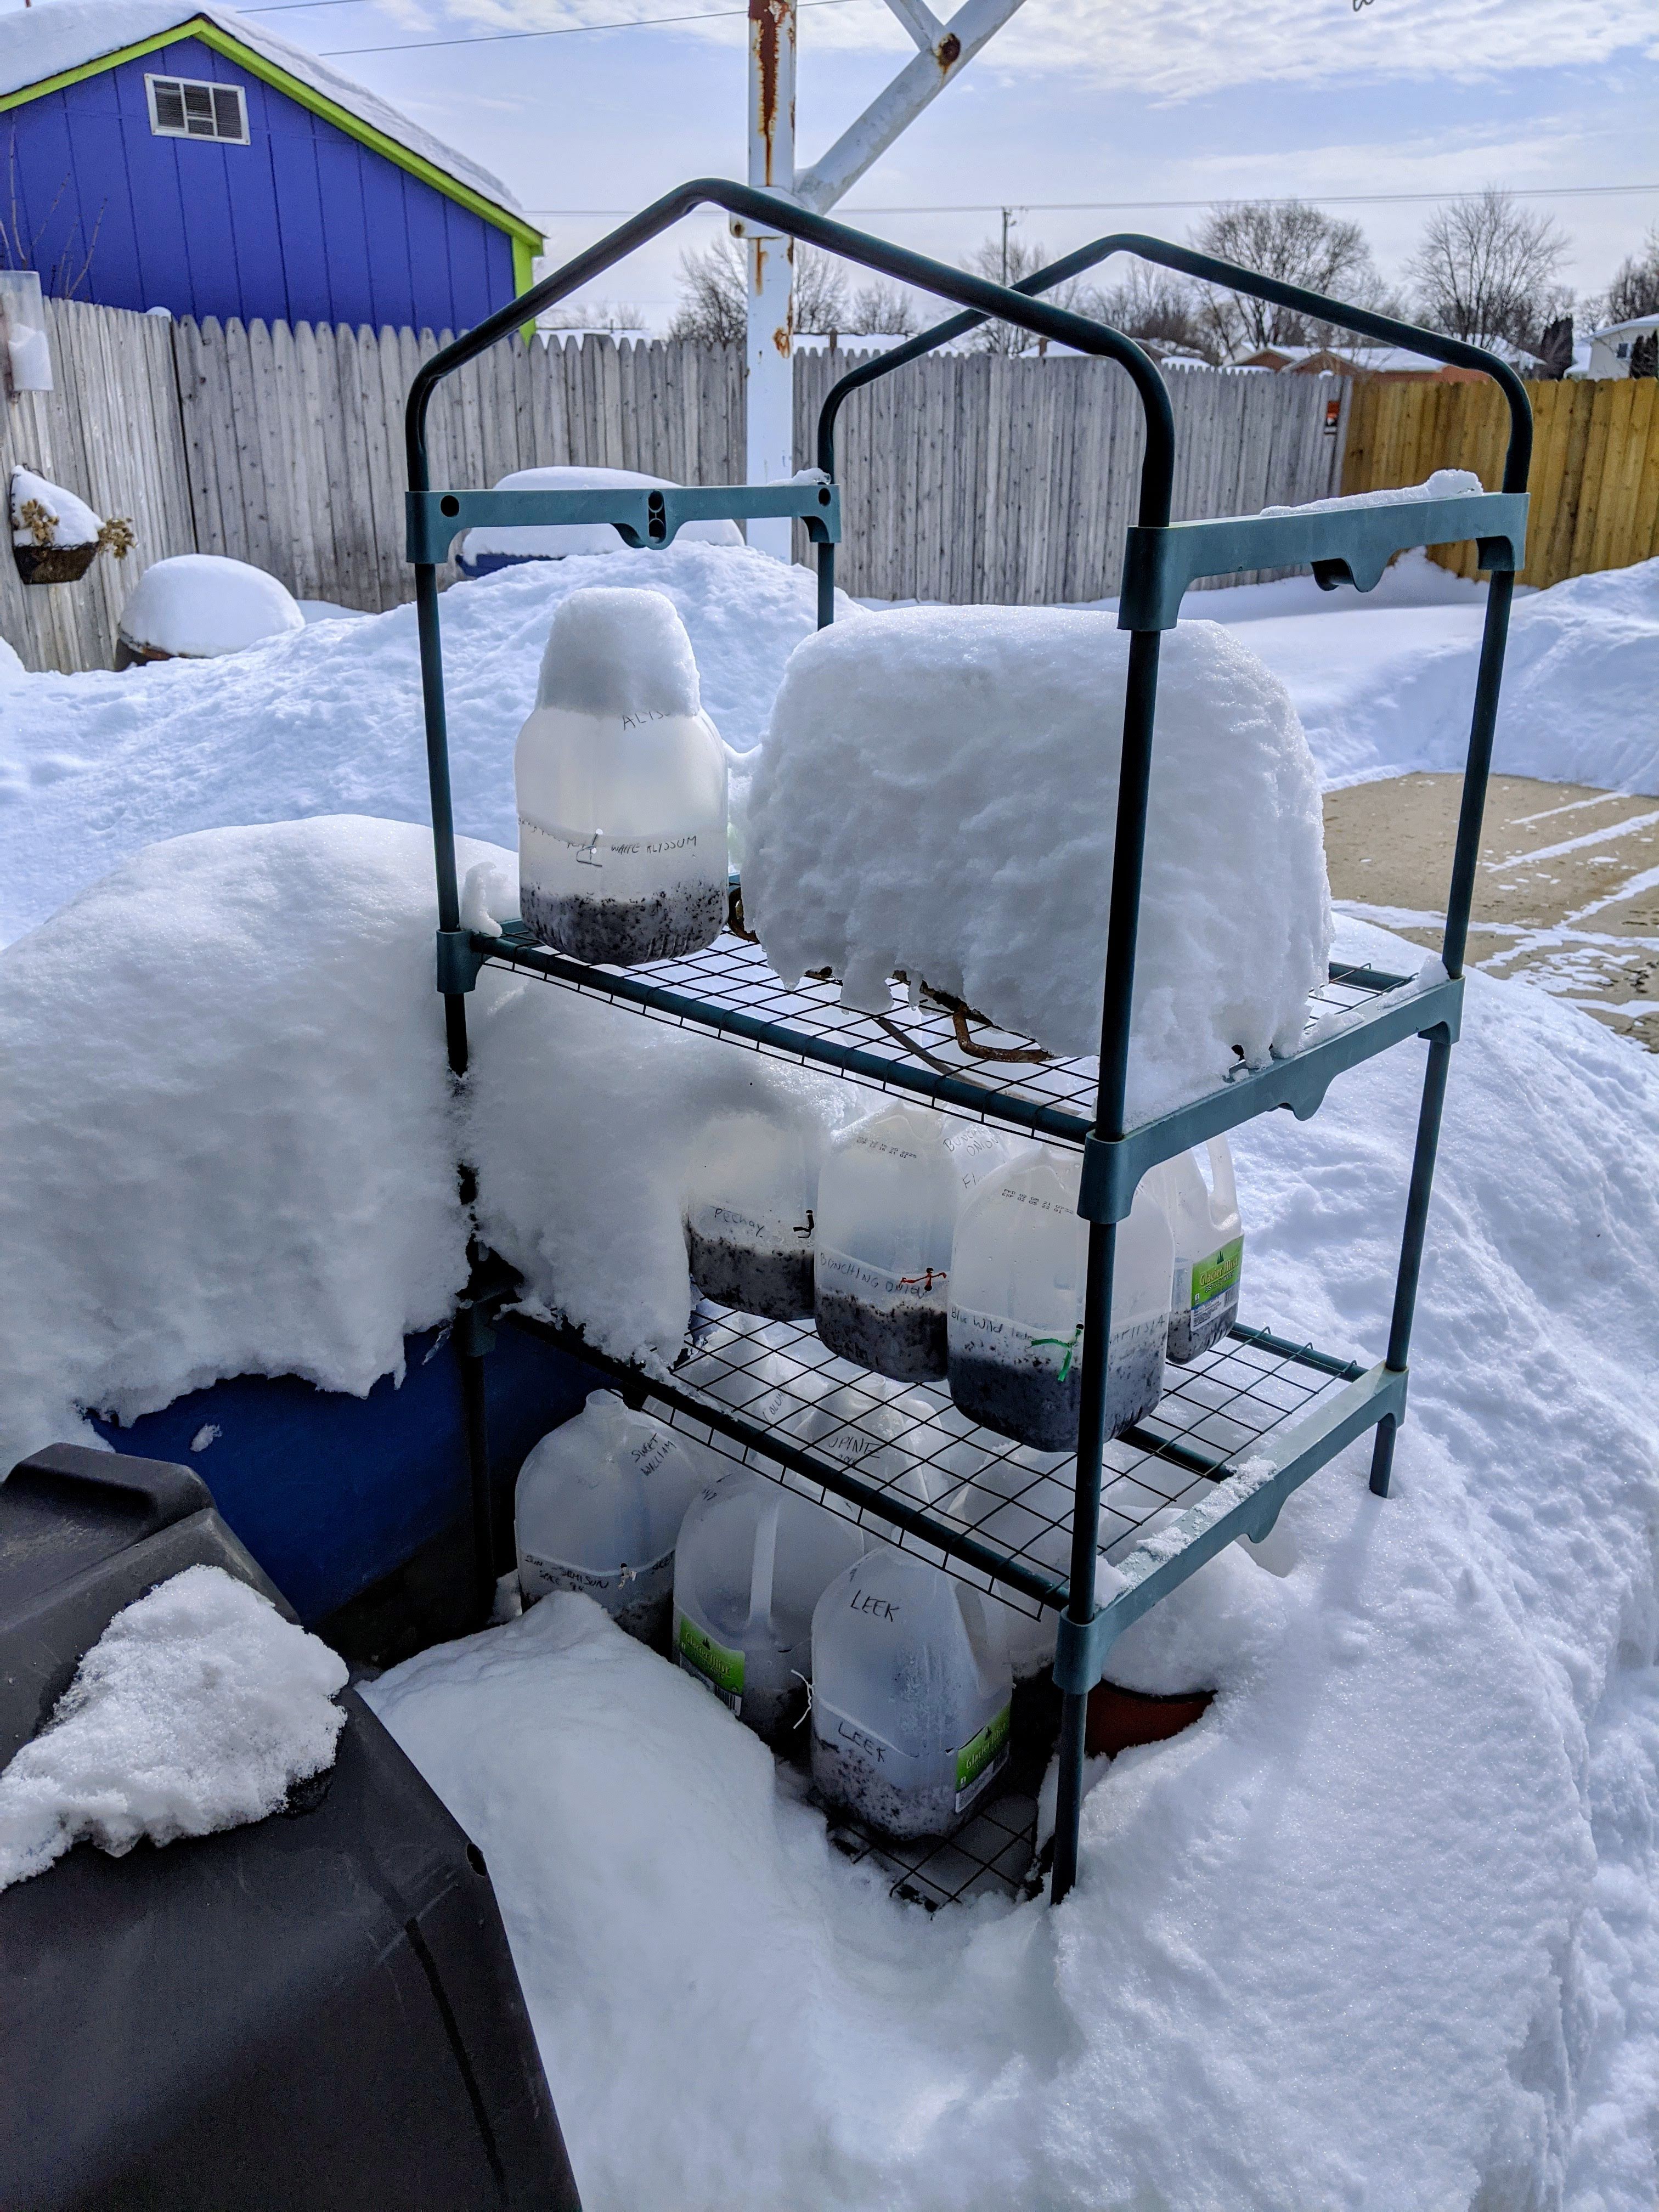
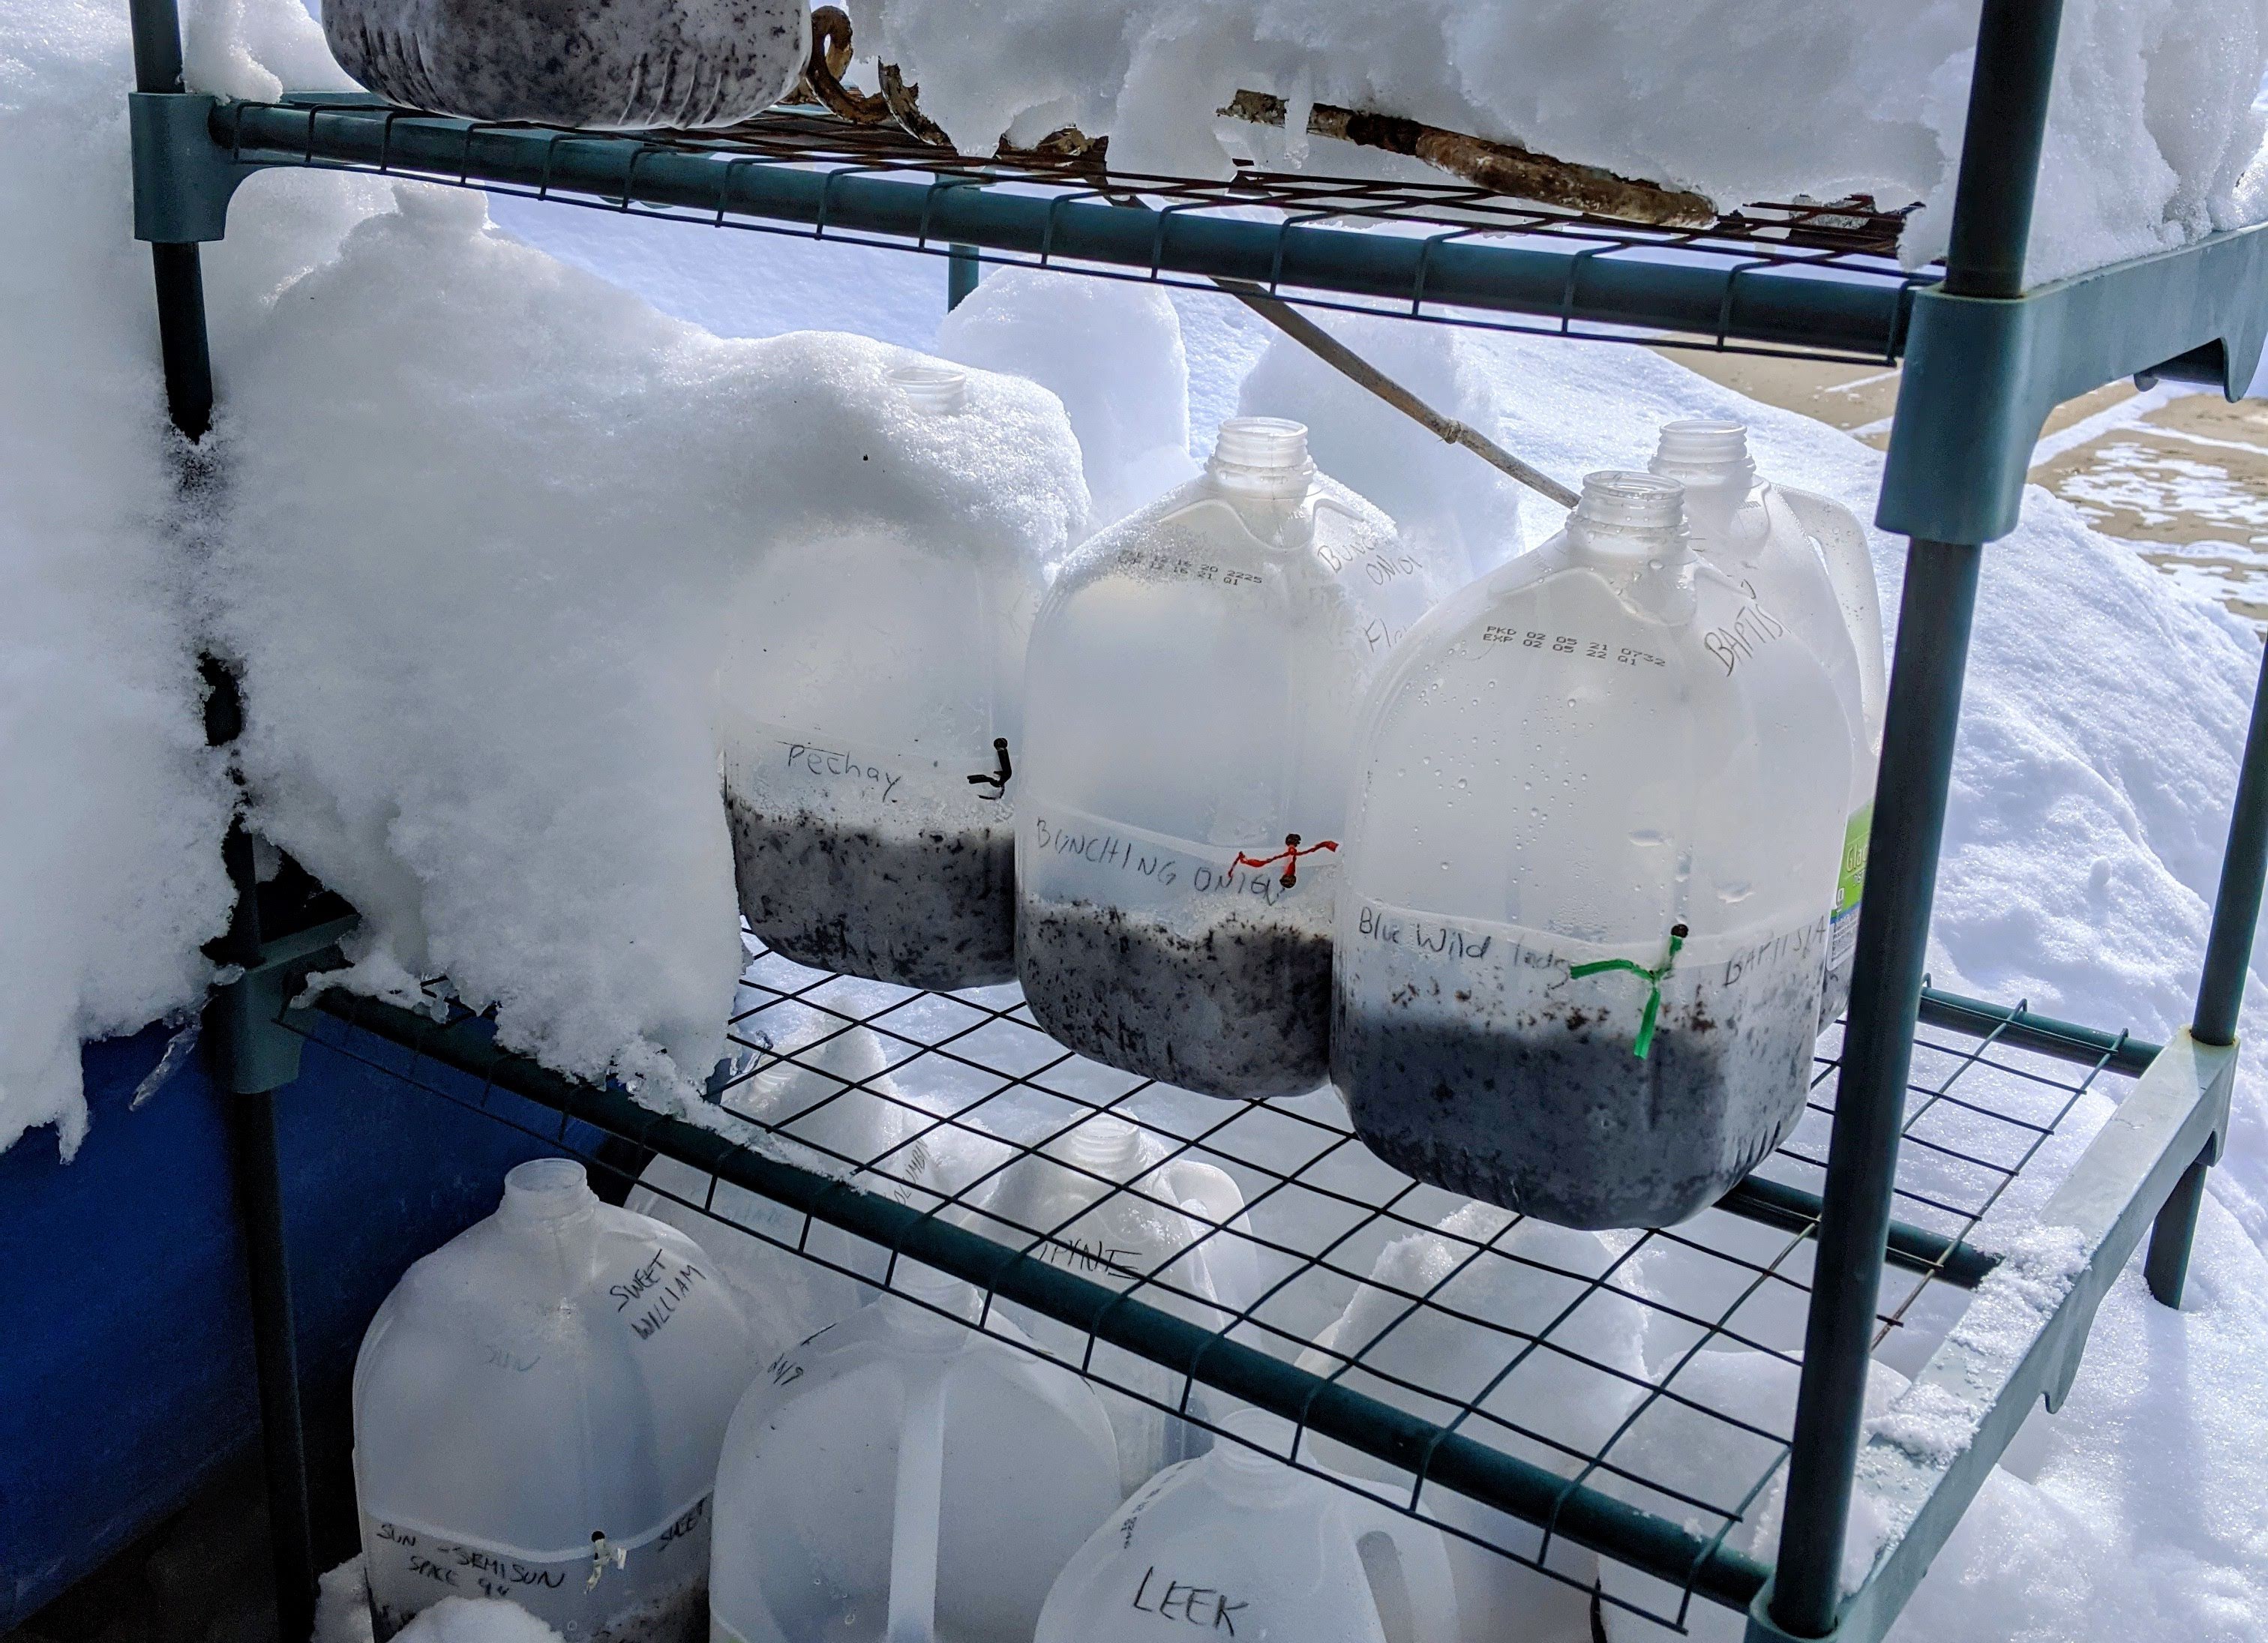
Now the winter sowing containers are ready to go outside in a sunny spot. They can go anywhere that they won’t be disturbed by pets or other animals—on the ground, on a deck, or on a table. In the past I’ve put mine on wire shelves in the corner between our house and the garage, facing southwest. There they won’t get blown around by a strong wind. It’s also easy for me to check on them because they’re right by the garage door. This year I put them in a sunnier spot, on the shelves further out on our driveway. They’re currently sheltered somewhat by the piles of snow out there.
Maintain the Containers
The beauty of the winter sowing system is that you can set and forget the seeds now to a certain extent. You just need to make sure that they do not dry out. If they’re on the ground and they’re covered by snow, they’re fine. Leave them alone. If they’re not covered by snow, peek inside to see if the potting mix looks dry—even if you see condensation is forming inside the containers. If the surface of the potting mix looks dry or the containers feel light when you pick them up, water them. Check more often as the weather warms up. They may need water on sunny days even when it’s in the 30s. Don’t let the seeds dry out.
Transplant Your Winter Sown Seedlings
Later the magic happens. The seeds sprout and tiny plants start to grow. Don’t worry if it’s too cold for them outside; it’s warmer inside their mini greenhouses. However, if you have tender annuals growing and you think a cold snap is going to lower the temperature too much for them, cover them at night. Water your winter sown plants like you would any other seedlings while you’re waiting to plant them.
Remember that these seedlings are already hardened off. They can be transplanted into the garden as soon as they’ve formed at least one set of true leaves—provided that the soil temperature and weather conditions are suitable for their hardiness level. My advice is that the sooner you can get your winter sown seedlings into the ground, the better. I have left some languishing in their jugs for too long. When I finally planted them, they did not take off. Get those little seedlings planted as soon as you can. Once your garden soil is maintaining a warm enough temperature for the plants’ hardiness level, transplant them outside. You’ll plant them out in the same order that you started them: hardy plants first, then the semi-hardy plants, and then the tender ones.
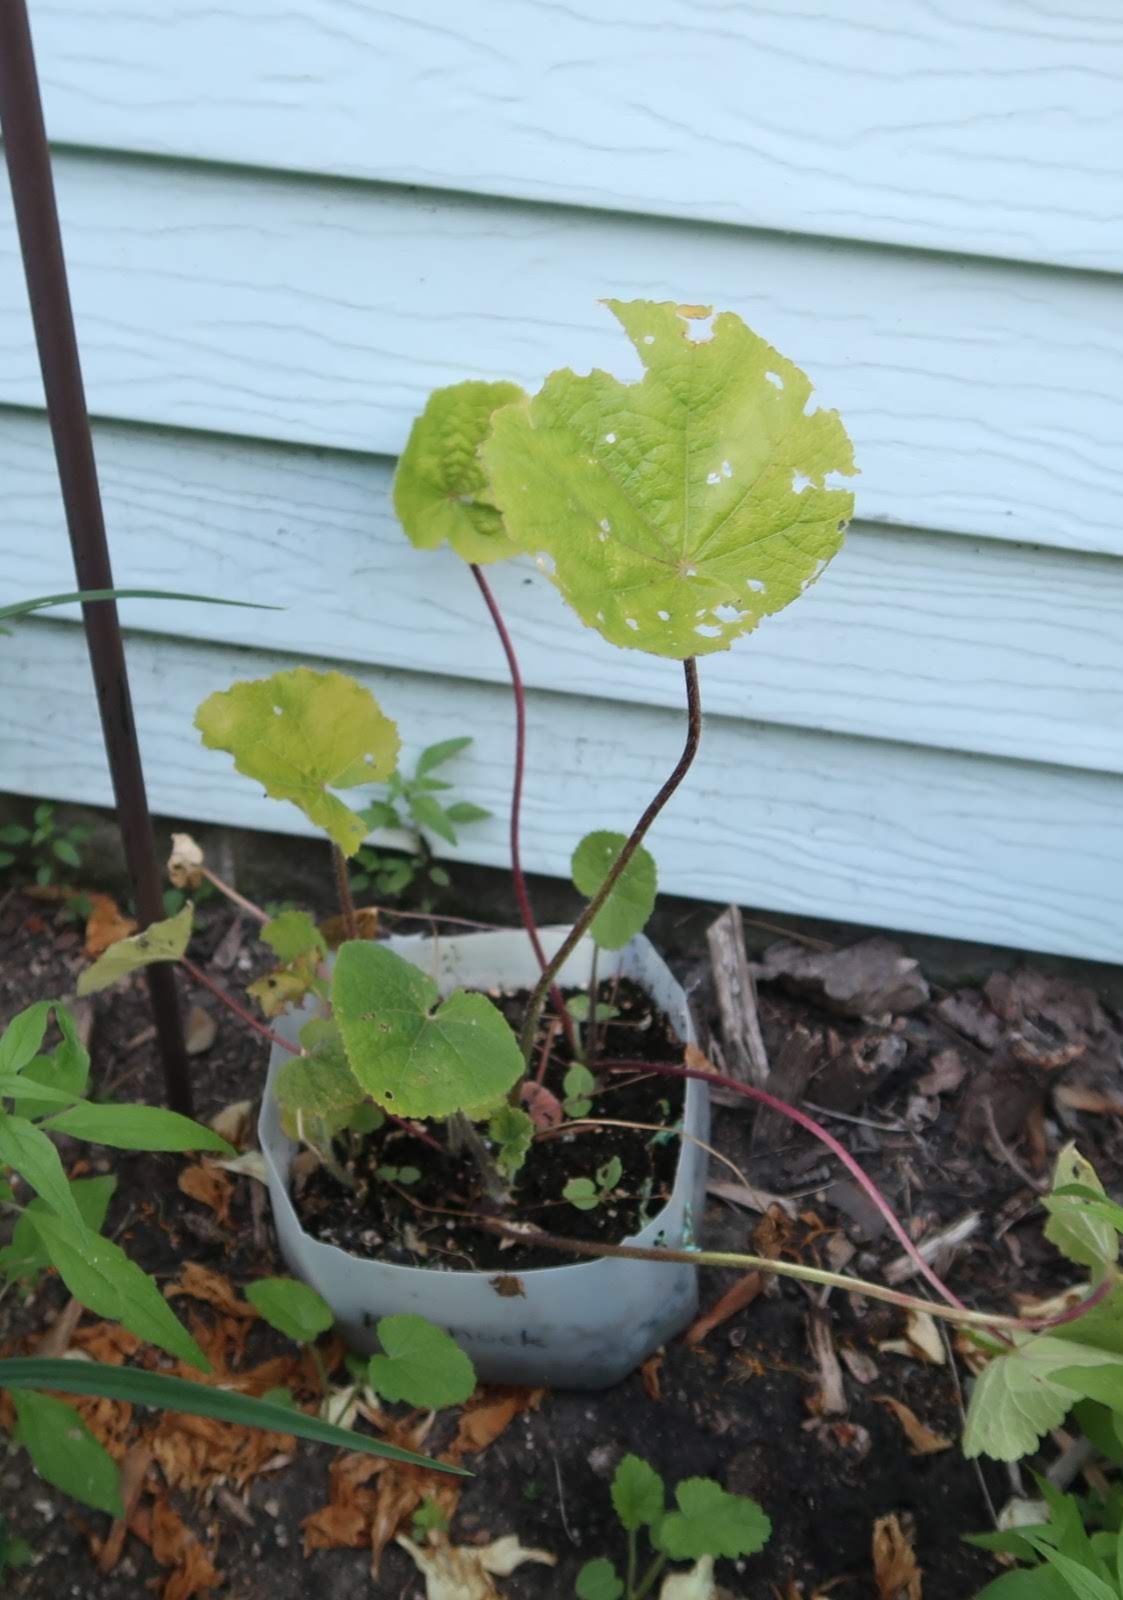
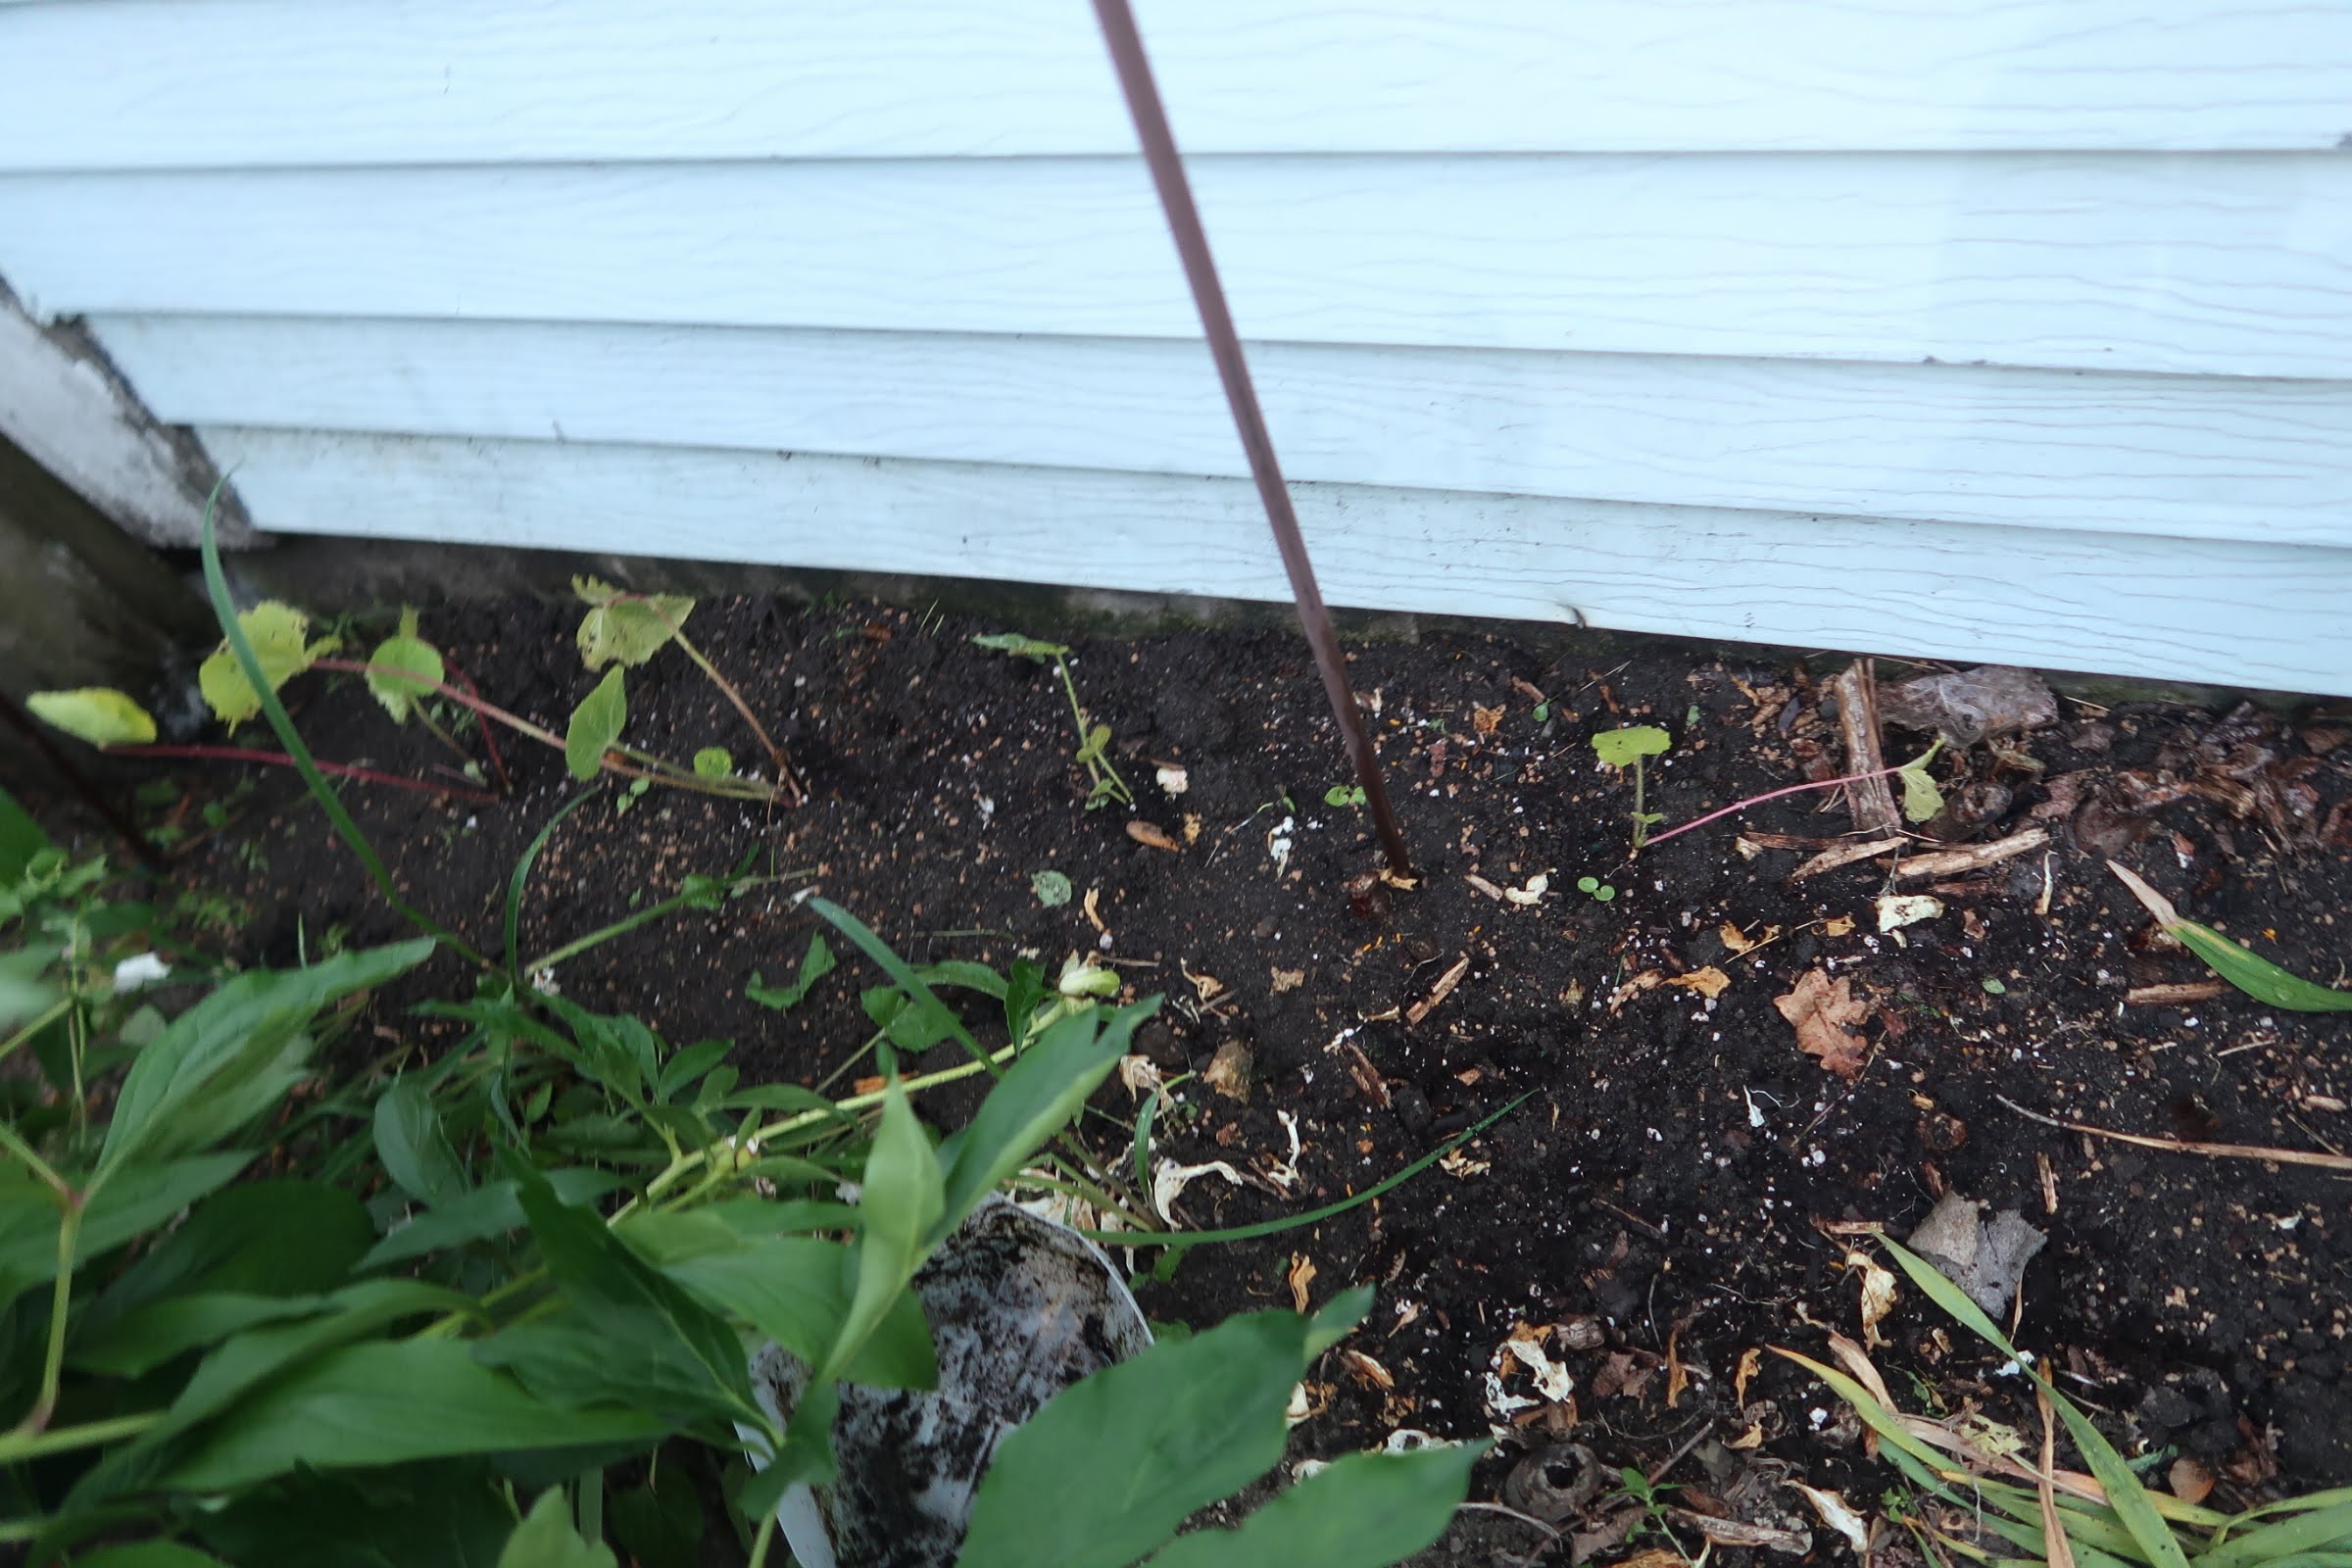
Transplanting Wintersown Hollyhocks
Water the seedlings before you transplant them, and let them sit for a while. When you’re ready to plant them, slide the whole group of seedlings out of the container. If they’re spaced slightly apart from each other, gently pull the individual plants apart, teasing the roots and keeping as much of them as you can with each plant. If the seeds were thickly sown and the plants are all matted together, cut them apart into pieces with a knife. Then use your fingers to pull each piece apart into little clumps of seedlings. Plant those clumps, spacing them as far apart as you would if they were individual plants. Water them in. Keep watering them as needed during the next few days until their roots take and the plants start to grow.
Now you can maintain and enjoy your garden with all these new plants, started from seed.
New Video Demo
You can watch me prepare and plant a winter sowing container from start to finish here on YouTube. If you like the video, please give it a thumbs up and leave your comment or question in the the comments section.
Still have questions? Leave a reply in the comments below to ask them.
Debbie Rea
What about starting seeds indoors?
I’m glad you asked! I’ve been seed starting with traditional indoor methods for longer than I’ve been winter sowing. I recently added information about supplies needed for indoor seed starting to the Shop with The Gardener Wife page.
If you want me to write a tutorial for indoor seed starting, please let me know by leaving a reply in the comment section below.
I may earn commissions for purchases made through any Amazon links in this post. See disclosure here.